Product variants
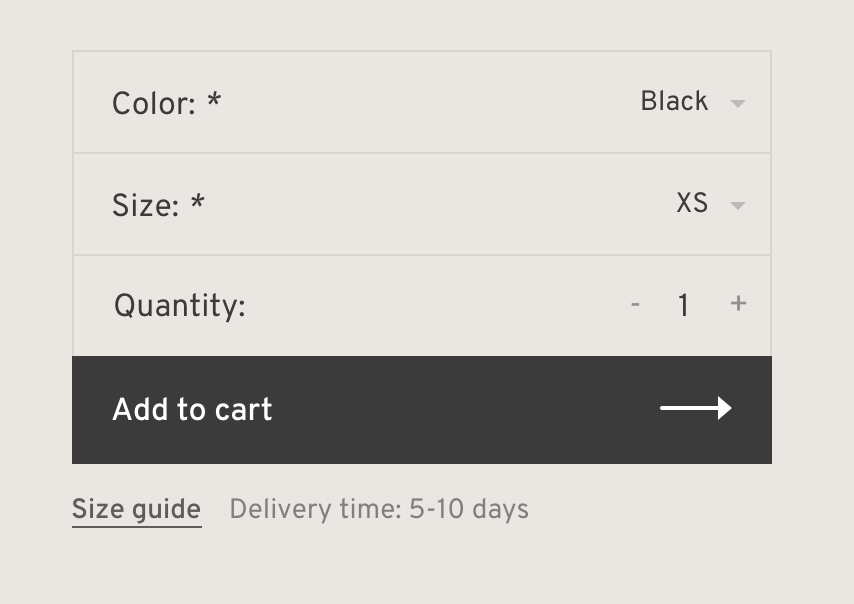
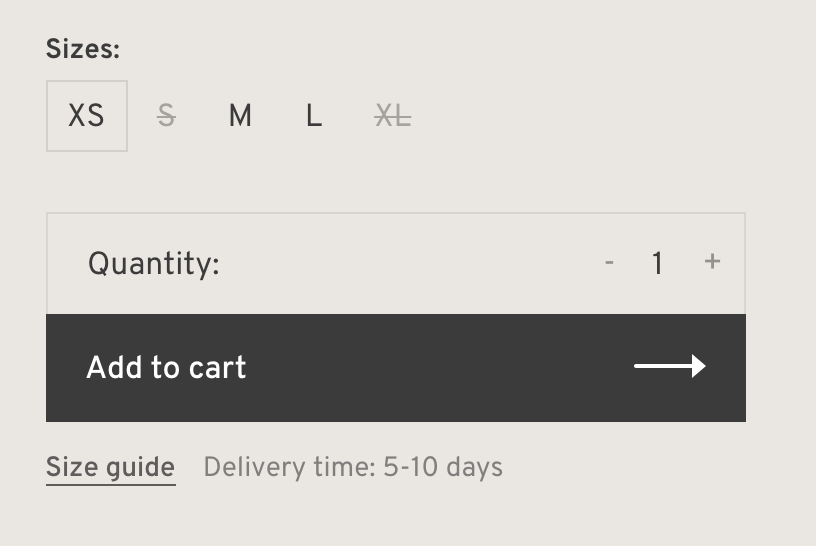
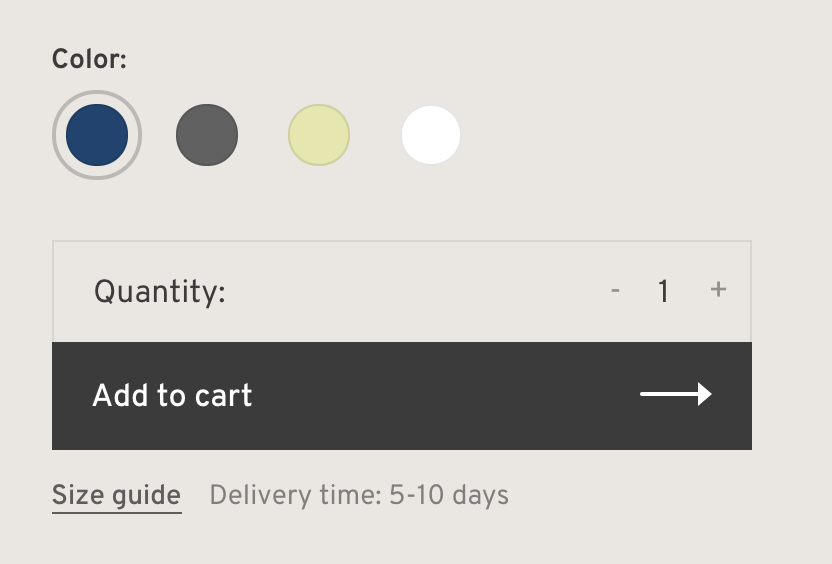
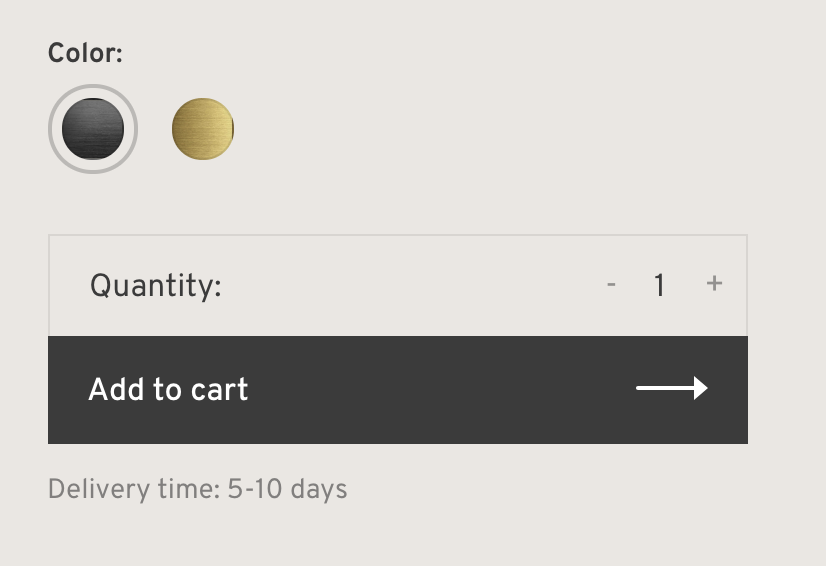
If you use product variants in your shop, you can optionally decide to display the variants in 3 different ways. Please note that these optinal variant options will only be displayed if a product has a single variant type (ex: color). If your product has more than 1 (ex: Size + Color), the default variant dropdown will be displayed.
Default

Squares

Coloured circle

Image circle

- To get started, enable the “Show variant picker (square, color or image)” theme option.
- Then select if you want to show the custom variant picker on all products by default, or if you want enable it for certain products only.
- Show variant picker by default on all productsIf you select this option, the square variant picker will be displayed by default on ALL products as long as there is not more than 1 type of product variant. If you want to disable the variant picker for a specific product, type in “disabled” in the Data 03 field of the product. To enable the Data 01, Data 02 and Data 03 field, please visit backoffice > Settings > Workflow and enable “custom template data” option. Once that is enabled, a new set of field will be added at the bottom of your products forms.
You can also replace the main size guide by another one by following the steps in the section below.If you want to enable the coloured circle or the image circle, please refer to the section below - On specific productsSelect this option if you do not want to display the variant picker on all product pages by default, but want to enable it on specific products. To show the square variant picker for a specific product, type in “enabled” in the Data 03 field of the product page.If you want to enable the coloured circle or the image circle, please refer to the section below
- Enable the coloured circleTo enable the couloured circle, you must manually enter a comma separated list of HEX code (ex: “#de4748”) with the hastag in front of each HEX code. All codes must be in the exact same order as the variants in the “INVENTORY & VARIANTS” section of your product settings. Here is an example displaying 4 couloured circle: “#164371, #616161, #e5e6ab, #ffffff”.
- Enable the image circleTo enable the image circle, you must manually enter a comma separated list of image URL extentions (ex: “/198866666/texture-metal2.jpg, /198866660/texture-metal1.jpg”) with the / in front of each URL extentions. To upload an image, go to Backoffice > Tools > Files and click on “Upload files”.
Once the image is uploaded, copy the part of the URL that comes AFTER “https://cdn.webshopapp.com/shops/STORE_ID/files…” as seen in the image below:
We recomment uploading a small square 60px by 60px image. All URLs must be in the exact same order as the variants in the “INVENTORY & VARIANTS” section of your product settings.
- Show variant picker by default on all productsIf you select this option, the square variant picker will be displayed by default on ALL products as long as there is not more than 1 type of product variant. If you want to disable the variant picker for a specific product, type in “disabled” in the Data 03 field of the product. To enable the Data 01, Data 02 and Data 03 field, please visit backoffice > Settings > Workflow and enable “custom template data” option. Once that is enabled, a new set of field will be added at the bottom of your products forms.
Was this article helpful?
YesNo