Size guides
You can display an unlimited amount of size guides on your product pages. A link below the “Add to cart” button will be displayed and you can add any content into the size guide popup.
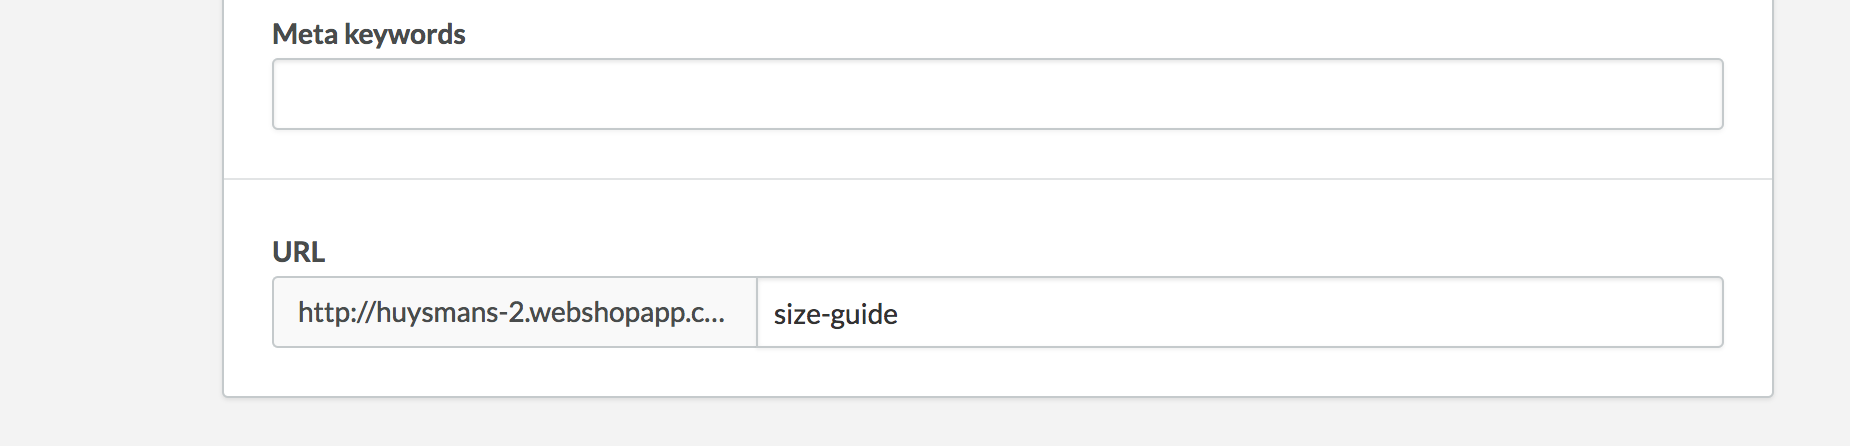
- To get started, create a new page by visiting backoffice > content > pages. This will be the page with your main size guide content. You can give this page any title you want, but you must make sure the URL field has “size-guide” written in it. You can add any content you want and you can keep the visibility off (hidden) if you don’t want the pages to be displayed in the footer links or menus.
If you want to use the same example as in the demo, copy the following code and paste it into the code editor of your page.<p>Lorem ipsum dolor sit amet, consectetur adipiscing elit, sed do eiusmod tempor incididunt ut labore et dolore magna aliqua. Ut enim ad minim veniam.</p> <table style="border-collapse: collapse; width: 100%;" border="1"> <thead> <tr> <td style="width: 25%;">Size</td> <td style="width: 25%;">Neck</td> <td style="width: 25%;">Chest</td> <td style="width: 25.2632%;">Arm length</td> </tr> </thead> <tbody> <tr style="height: 18px;"> <td style="width: 25%; height: 18px;">XS</td> <td style="width: 25%; height: 18px;">13.8-14.6"</td> <td style="width: 25%; height: 18px;">31.1-33.1"</td> <td style="width: 25.2632%; height: 18px;">31.1-32.3"</td> </tr> <tr style="height: 18px;"> <td style="width: 25%; height: 18px;">S</td> <td style="width: 25%; height: 18px;">14.6-15.0"</td> <td style="width: 25%; height: 18px;">33.1-35.0"</td> <td style="width: 25.2632%; height: 18px;">32.3-33.1"</td> </tr> <tr style="height: 18px;"> <td style="width: 25%; height: 18px;">M</td> <td style="width: 25%; height: 18px;">15.0-15.4"</td> <td style="width: 25%; height: 18px;">35.0-37.4"</td> <td style="width: 25.2632%; height: 18px;">L33.1-34.3"</td> </tr> <tr style="height: 18px;"> <td style="width: 25%; height: 18px;">L</td> <td style="width: 25%; height: 18px;">16.1-16.5"</td> <td style="width: 25%; height: 18px;">37.8-39.8"</td> <td style="width: 25.2632%; height: 18px;">34.3-35.0"</td> </tr> <tr style="height: 18px;"> <td style="width: 25%; height: 18px;">XL</td> <td style="width: 25%; height: 18px;">16.9-17.7"</td> <td style="width: 25%; height: 18px;">39.8-42.1"</td> <td style="width: 25.2632%; height: 18px;">35.0-36.6"</td> </tr> </tbody> </table> <p class="hint-text" style="font-size: 14px;">* Consectetur adipiscing elit, sed do eiusmod tempor</p> - Go to your theme setting under the “9. Shop” section, enable the Size guide module and select how you want to display the Size guides:
- Default size guide on all products
If you select this option, the main size guide you created above will be used for ALL products by default. If you want to disable the size guide for a specific product, type in “none” in the Data 02 field of the product. To enable the Data 01, Data 02 and Data 03 field, please visit backoffice > Settings > Workflow and enable “custom template data” option. Once that is enabled, a new set of field will be added at the bottom of your products forms.
You can also replace the main size guide by another one by following the steps in the section below.
- On specific products
Select this option if you do not want to display the main size guide on all pages. To show a size guide on a specific product page, paste the size guide page URL you wish to use (ex: “size-guide” or “size-guide-pants”) in the Data 02 field of the product page. See step above to learn more about how to enable the Data 01, Data 02 and Data 03 field.
- Default size guide on all products
Was this article helpful?
YesNo